Resurface Your Current Deck

Resurfacing your deck with Trex® is easy to do, and the results are easy to love.

If the boards on your existing deck are looking a bit worn - and the foundation and deck framing system are sound - you can simply replace the walking surfaces and deck railings with Trex decking and railing. It's an ideal way to save time and money, while enjoying all of Trex's benefits over wood.
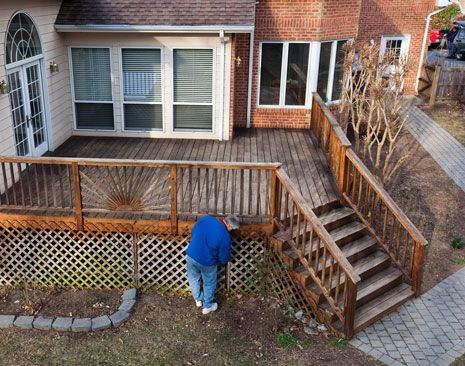
Resurface your deck in days. Enjoy it for decades.

Isn’t it time to scrap that warped, splintery, faded wood? Replace it with Trex high-performance composite decking and enjoy long-lasting, low-maintenance beauty for decades to come. After all, your time outdoors shouldn’t be spent sanding, scraping and staining – it should be spent sitting on your deck enjoying the view.

Installation

Over time, wood decks inevitably show signs of aging such as warping, cracking and nail pops. Here are the steps you need to take to reface your deck.

An older man in a blue sweater is seen inspecting or working beneath a raised wooden deck attached to a brick and siding house. The setting is a backyard with a paved walkway, bare shrubs, and a lattice under the deck. The scene is captured in daylight, with a neutral and natural color palette and no visible text or numbers.
STEP 1.

Check joists spacing and overall condition of framing to determine if the substructure is sound.

 

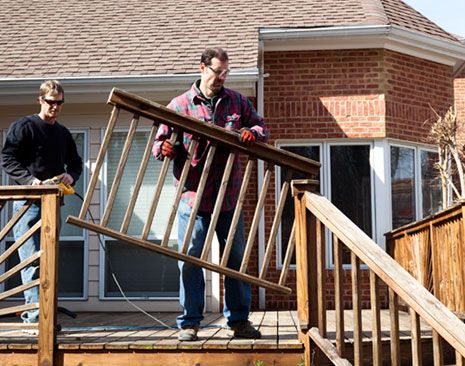
Two adult men are working outdoors, removing a wooden railing from a set of deck stairs attached to a brick house. One man is holding the railing while the other appears to be assisting with tools. The setting is a residential backyard on a sunny day, with clear details of the house exterior and deck structure. The scene suggests home improvement or repair activity.

STEP 2.

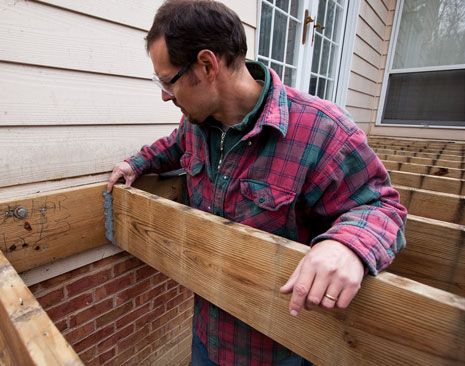
After obtaining any necessary building permits, carefully remove and discard the old decking and railing, leaving the substructure and framing in place.

An adult male is working on building a wooden deck frame attached to a house. He is wearing a red plaid shirt and is handling large wooden beams, aligning them with metal brackets. The setting is outdoors, adjacent to a brick and siding wall, with a glass door and window visible. The scene suggests home improvement or carpentry work in progress.
STEP 3.

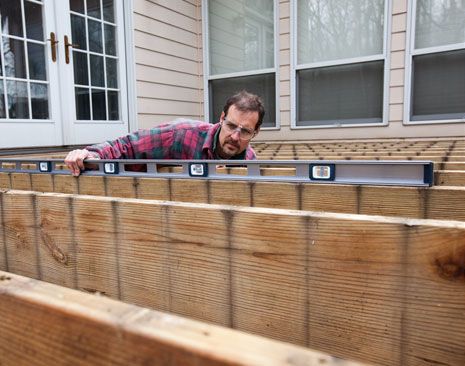
Inspect all framing/framing hardware for code compliance, structural integrity and compliance with the current Trex Installation Guide.


An individual is checking the alignment of a wooden deck frame using a long spirit level. The setting appears to be an outdoor patio or backyard area, adjacent to a house with large windows and a glass door. The person is wearing a plaid shirt and is focused on ensuring the beams are even. The image highlights construction, home improvement, and precision work.
STEP 4.

To ensure a level surface for the Trex boards, make sure that the joists are level and even with each other.

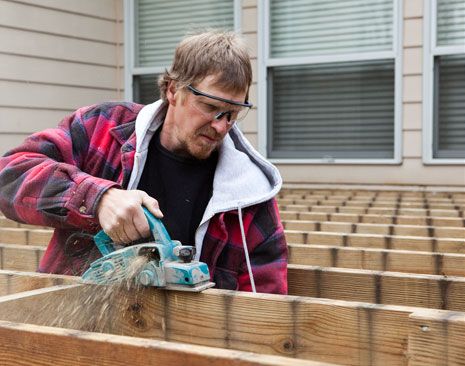
An adult is operating a circular saw to cut wooden beams on a partially constructed deck. The setting is outdoors, adjacent to a house with visible windows and siding. The individual is wearing a red plaid jacket and safety glasses. Sawdust is visible, emphasizing active woodworking. The image conveys a hands-on, industrious atmosphere.
STEP 5.

You may need to shim or shave the joists to make them level and even.


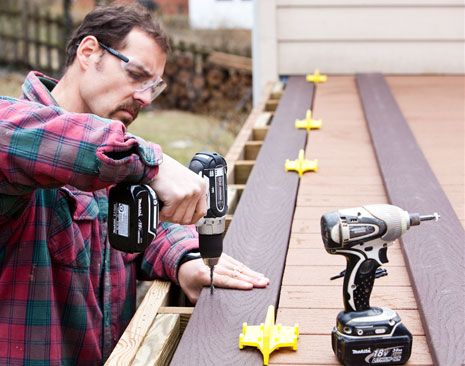
An adult is using a power drill to fasten composite deck boards onto a wooden frame outdoors. Several yellow deck board spacers are aligned in a row, and another cordless drill rests nearby. The setting appears to be a residential backyard, with a focus on construction and DIY activity. The person is wearing a plaid shirt, and the overall mood is industrious and practical.
STEP 6.

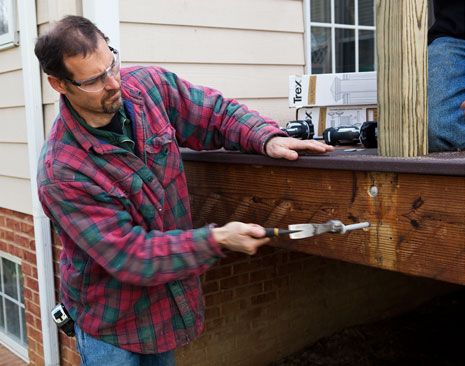
Install Trex decking, following instructions for spacing from the Trex Installation Guide.

An adult male is working on a wooden deck, using a hammer to drive a nail into a support beam. The setting is outdoors, adjacent to a house with beige siding and brick foundation. Construction tools and a Trex box are visible on the deck surface. The man is dressed in a red plaid shirt and jeans, suggesting a casual, hands-on work environment. The overall mood is industrious and practical.
STEP 7.

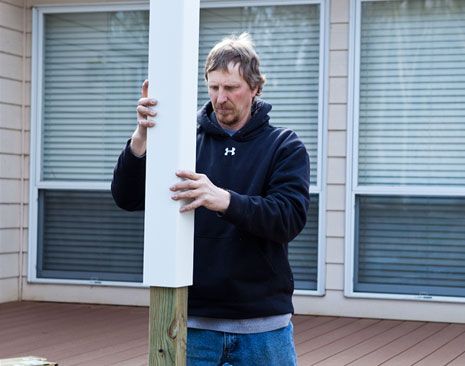
Attach new pressure treated structural rail posts to framing as required by code and the Trex Installation Guide.


An adult stands outdoors, fitting a white post sleeve over a wooden support beam on a deck. The individual is dressed in casual clothing, including a dark hoodie with a visible chest emblem. The background features a house exterior with large windows and horizontal siding. The scene suggests a home improvement or construction activity in a residential setting.
STEP 8.

Install Trex Post Sleeves.

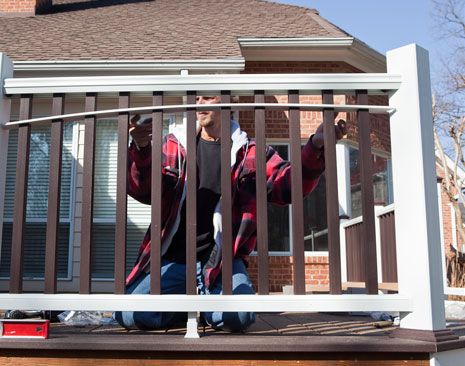
A man is kneeling while installing a white and gray railing on a wooden deck. The setting is outdoors in front of a brick house with visible windows and roof. He is wearing a plaid jacket and working with tools in daylight. The image highlights home improvement activity and construction details. No visible text or numbers are present.
STEP 9.

Assemble Trex railing and balusters per the Trex Installation Guide.

A sturdy metal and wood fence is prominently featured in the foreground, overlooking rolling hills covered in vibrant autumn foliage. The landscape showcases a mix of green fields and trees with red, orange, and yellow leaves under a partly cloudy sky. The scene evokes a peaceful, rural atmosphere with distant mountains visible on the horizon. No visible text or numbers are present in the image.
STEP 10.

Secure your choice of Trex railing decorative elements, such as post caps and top rail caps.

Summary

With the makeover complete, the Trex decking and railing looks great and is ready for years of low-maintenance enjoyment.

(NOT ALL PRODUCTS ARE AVAILABLE IN EVERY COUNTRY.)

Unable to Add to Cart

You may order up to 4 free samples. To adjust your selections, remove what you do not need and then add your new choices.